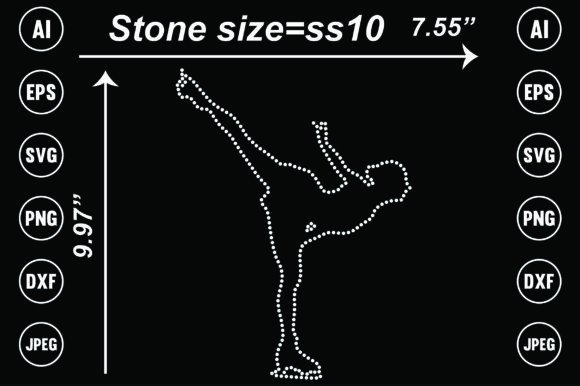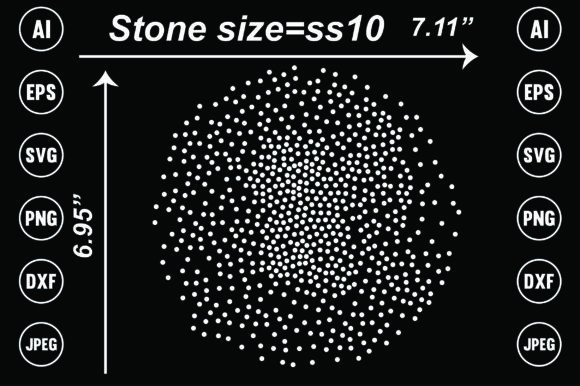
Mastering the Sparkle: A Practical Guide to Scattered Rhinestone Templates Design
In the world of custom apparel and décor, few elements capture attention quite like the shimmer of rhinestones. Whether you are a small business owner creating merchandise, a hobbyist personalizing gifts, or a designer looking for high-quality assets, Scattered Rhinestone Templates Design offers a versatile solution. This specific instant download provides a suite of professional files—AI, EPS, SVG, DXF, Transparent PNG, and JPEG—all at 300dpi. It is built for everything from heat transfer vinyl (HTV) projects to sublimation on mugs and cushions. However, having the files is only the first step. To truly elevate your projects and avoid wasted materials, you need to understand how to select, manage, and apply these designs correctly.
Understanding the Asset: More Than Just a Picture
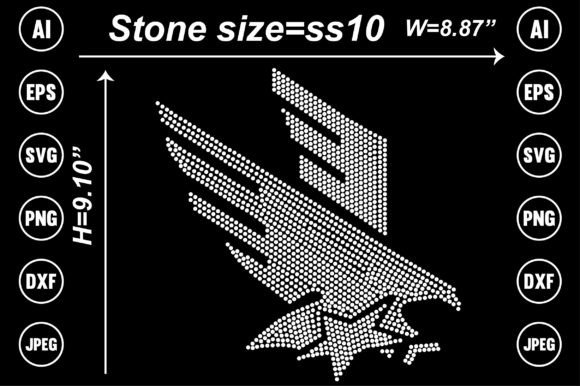
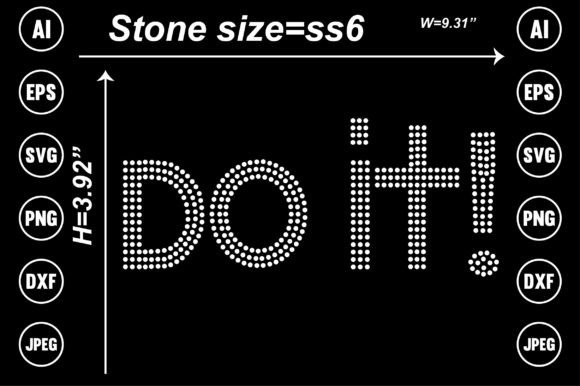
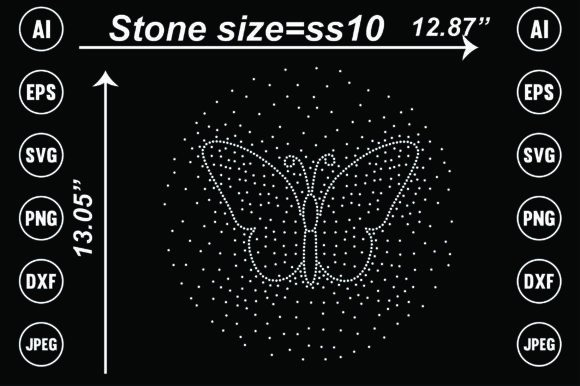
When you purchase a Scattered Rhinestone Templates Design, you are not just buying an image; you are buying a blueprint for physical production. A common oversight for beginners is treating a digital template like a standard photo. They attempt to print it directly onto paper or fabric, expecting a magical sparkle. In reality, this design is intended to guide the placement of physical stones or to simulate that texture digitally with high fidelity.
The inclusion of vector files like AI, EPS, SVG, and DXF is critical here. These formats are scalable, meaning you can resize the design from a small chest logo to a large back print without losing quality. If you only use the JPEG or PNG for a large-scale project, you risk pixelation, which makes the "stones" look blurry rather than crisp. For the best results, always use the vector files (SVG or EPS) when scaling the design for different product sizes.
Avoiding the "Low-Quality Print" Trap
One of the most frustrating outcomes in the creative process is printing a design only to find it looks muddy or pixelated. This often happens when users ignore file specifications. The Scattered Rhinestone Templates Design is delivered at 300dpi (dots per inch), which is the industry standard for high-quality printing. However, some users inadvertently lower this resolution when importing files into software like Canva or Photoshop, or they save the final export with heavy compression.
Practical Advice: When working with the Transparent PNG or JPEG files, ensure your canvas resolution in your editing software is set to 300dpi before you place the image. Do not let the software "resample" or downscale the image upon import. If you are using the design for sublimation on mugs or cushions, the transparency of the PNG file is vital to ensure you don't get a white box around your scattered stones. Always check that your background layer is hidden or removed when using the PNG format.
Navigating Software Compatibility and File Formats
The provided ZIP folder includes a wide array of formats, but choosing the wrong one for your specific machine or software is a common mistake. For instance, Cricut Design Space generally prefers SVG files for cutting, whereas older versions of Silhouette Studio might require DXF files (though newer versions handle SVGs well).
A frequent misunderstanding involves the Adobe Illustrator (AI) and EPS files. These are intended for professional designers using software like Illustrator, CorelDraw, or Affinity Designer. If you try to open an AI file in a basic photo viewer, it may not render correctly. Conversely, using a high-end vector file for a simple "Print and Cut" project might overcomplicate your workflow.
Better Approach:
- For Cutting Machines (Cricut/Silhouette): Use the SVG or DXF files. These maintain the clean lines needed for cutting templates.
- For Digital Printing (Sublimation/Direct to Garment): Use the Transparent PNG or JPEG. These preserve the texture and shading of the scattered rhinestones.
- For Professional Logo Work: Use the AI or EPS files to change colors or merge the design with other vector elements.
The "Editability" Factor: What You Can and Cannot Change
The product description notes that this is an "editable file," but this term requires clarification to avoid disappointment. With vector files (SVG, AI, EPS), you can typically change the color of the entire design or individual clusters of stones easily. However, with raster files (PNG, JPEG), "editing" is limited to resizing or adding filters; you cannot easily move individual "stones" around or change the color from black to pink without advanced masking skills.
A mistake users often make is buying a scattered design assuming they can easily delete specific stones to fit a unique shape. While vectors allow this, it requires intermediate knowledge of design software. If you are a beginner, plan to use the design as-is or use the "contour" or "slice" features in your cutting software to trim the edges, rather than trying to manually delete parts of the texture.
Realistic Application: Heat Transfer vs. Sublimation
Understanding how the Scattered Rhinestone Templates Design interacts with your production method is essential.
If you are using Heat Transfer Vinyl (HTV) or actual rhinestone templates, the design serves as a map. You need to ensure the "stones" in the design aren't too close together. If the scattered elements overlap in the file, they will fuse together when cut, ruining the texture. Always perform a "test cut" on a small corner of the material.
If you are using Sublimation or Direct-to-Garment (DTG) printing, you are printing the illusion of sparkle. Here, the 300dpi requirement is non-negotiable. Furthermore, remember that sublimation only works on light-colored, polyester-coated substrates. Printing this black scattered design onto a dark cotton t-shirt using standard inkjet methods will result in an invisible or muddy mess. For dark garments, you would typically print this on white heat transfer vinyl and press it, ensuring the background is transparent so the shirt color shows through the gaps between the stones.
Final Checklist Before You Create
Before you hit "print" or "cut," run through this quick evaluation to save time and money:
- Check the Scale: Does the size of the "stones" look realistic for your product? A mug requires smaller detail than a poster.
- Verify the Format: Are you using the SVG for cutting and the PNG for printing?
- Inspect the Edges: Zoom in on the PNG. Is the transparency clean, or is there a white fringe?
- Test the Material: If pressing onto fabric, ensure your heat settings are correct to avoid scorching the design or melting the carrier sheet into the scattered texture.
By treating your Scattered Rhinestone Templates Design as a professional toolset rather than just a simple picture, you ensure that your final products—whether they are t-shirts, mugs, or cushions—look polished, professional, and perfectly sparkly. Avoid the common pitfalls of resolution loss and format confusion, and you will find this asset invaluable for a wide range of creative and commercial projects.